AMC's The Walking Dead featuring Set Decorator Gia Grosso SDSA
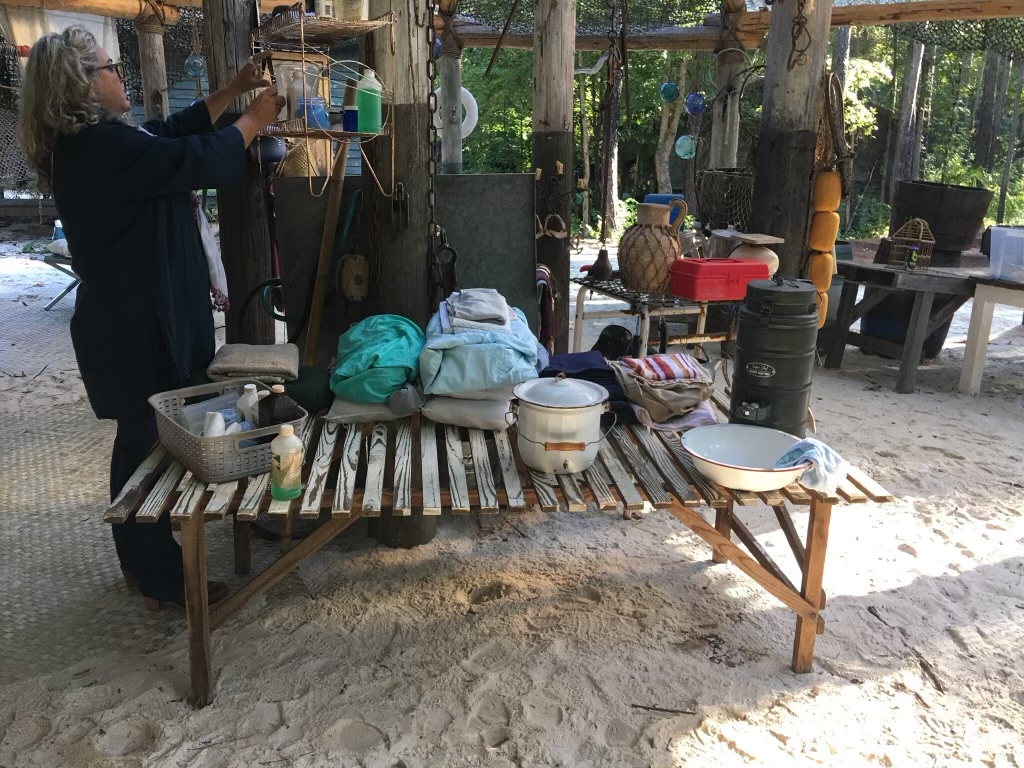
On March 13, 2021 at 10 AM PST, audiences from around the globe tuned in for a rare behind-the-scenes look at AMC's THE WALKING DEAD, featuring Set Decorator Gia Grosso SDSA and her team. Viewers were given a chance to see how Gia and her incredibly talented crew of artisans created the worlds of the Whisperers, Walkers and the several Communities on the show.
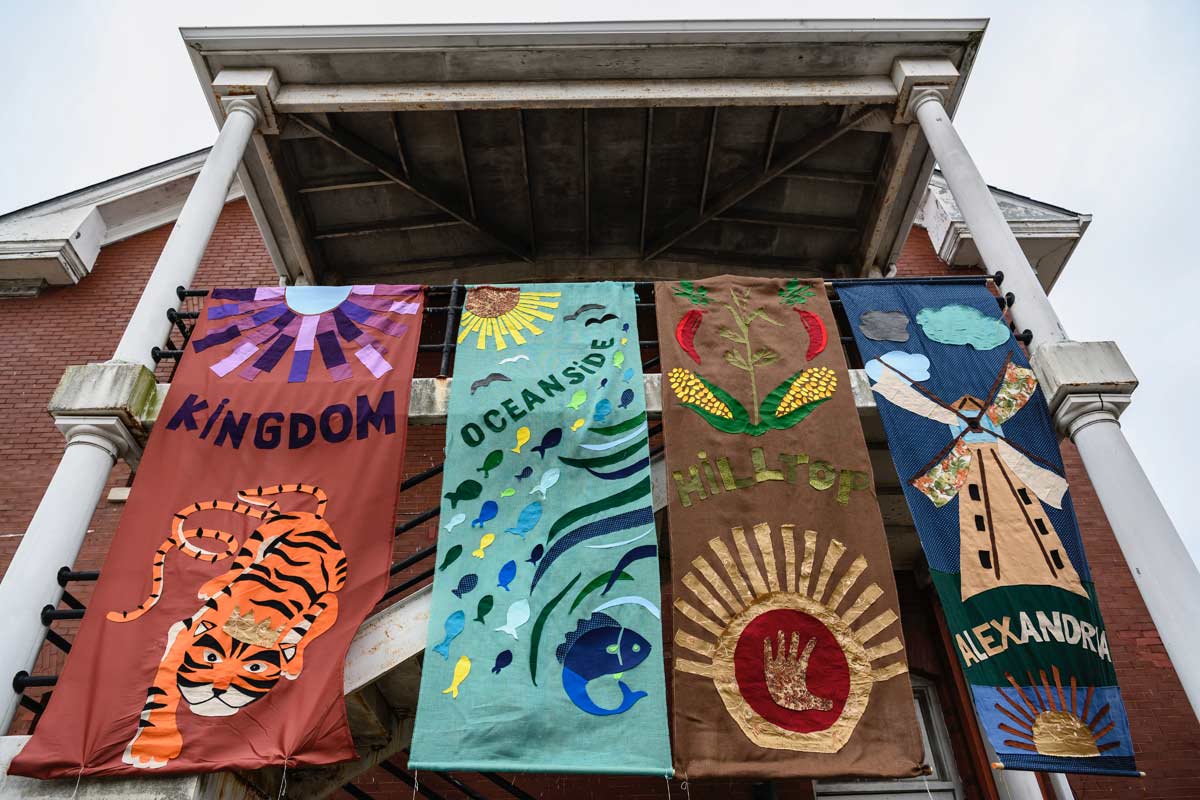
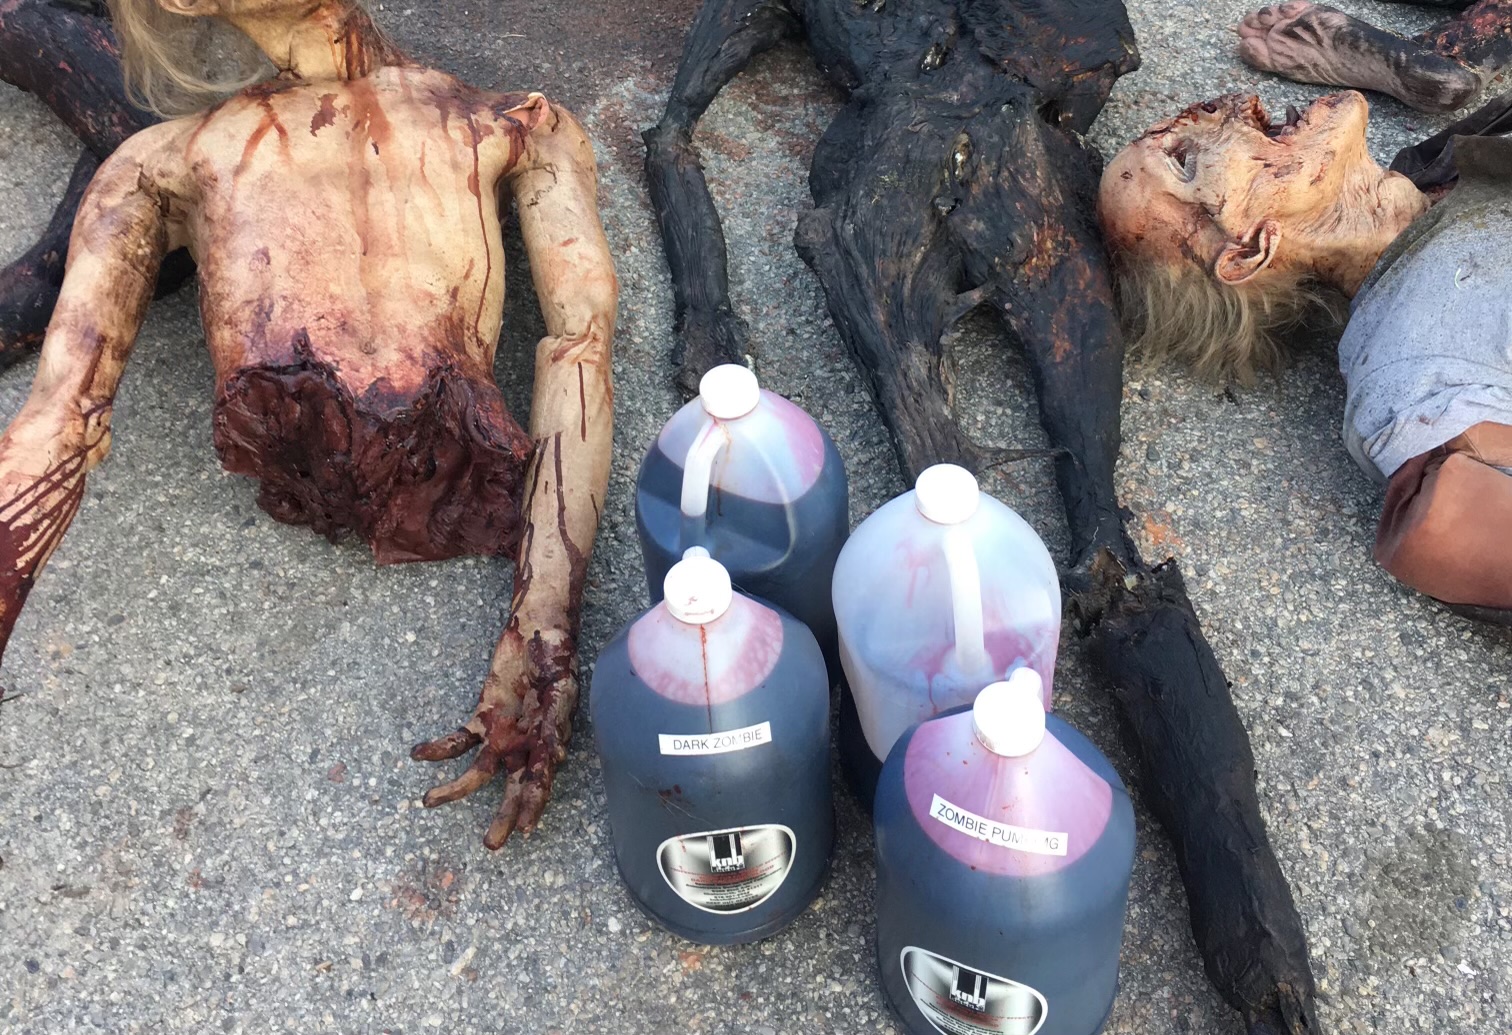
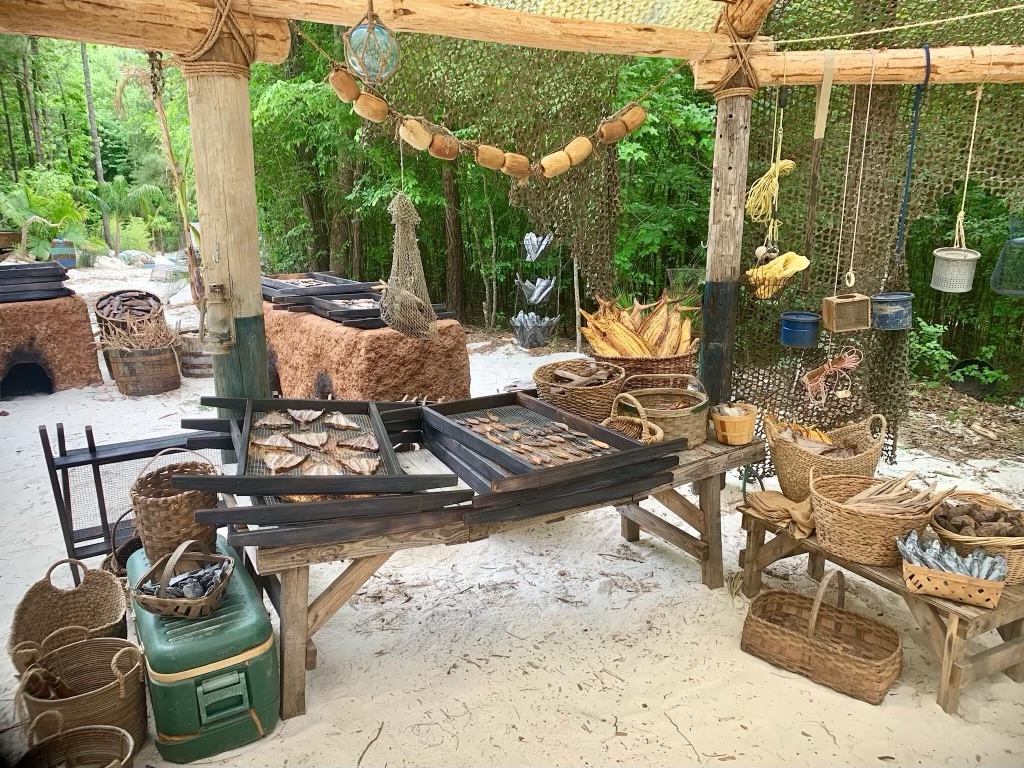
Her Leadman Kenneth Carroll, a "bladesmith", showed us how he creates weaponry from recycled tools and an assortment of objects they dressed into the sets. Gang Boss Shawn Upthegrove, shared techniques for making bloody guts, along with a breakdown of specific types of blood: when to use Zombie Dark or Human and the different viscosities for spraying with a blood cannon. What’s a blood cannon? You’ll have to tune in and find out! And if that wasn't enough to wet your appetite, Bethany, their wonderful Buyer, showed us how she and the crews sculpted, cast and painted 1,800 fish for the Oceanside set -- not a typo, they really did make 1,800 fish!
The tour had everything, including guest spots from the cast and crew, which took us all over Atlanta and its outskirts, all the while sharing with us the wonderful and exciting ways they bring the graphic novel to life. Did I mention there is a human meat grinder!?
Phew, we made it out alive to tell the tale.
The whole event wrapped up with Gia taking us on a shopping spree at one of her favorite local antique shops, Kelly's Antiques. Kelly is a true delight and her shop is a treasure trove of goodies.
Please be advised, there are some graphic scenes and viewer discretion is advised. But if you're ready to enter the world of AMC's THE WALKING DEAD, we are bringing it to your computer live (well, almost).
Join us for our Day with THE WALKING DEAD Set Decorator
with
Gia Grosso SDSA
Set Decorator Gia Grosso SDSA
took us inside the world of Set Decoration and all things Walking Dead!